Wooden Storage "Crates"
Custom media storage, for cheap
Various completion dates
Various completion dates
Back in the 1980's, there was a company that had a line of media storage accessories that looked like wooden crates, but were custom sized for cassette tapes and records. They weren't the most glamorous things, but they were affordable and not made of plastic. This company appears to be long gone, unfortunately.
I've had requiements for media storage recently, and most of what I see in stores is overpriced and doesn't really meet my requirements. I've had to come up with my own creative solutions in the past, but those have failed to keep up with my needs.
Anyway, now that I have some experience with woodworking, it should be easy enough to ape what the crate company used to do, maybe even making something a little nicer.
I'm getting pretty good at it now. I can knock together some utlitarian storage in very little time. Something nicer takes extra time, but mostly for the sanding and the finishing. If I start with nicer stock it takes even less time to make something I'm not afraid to leave out where people can see it.
So far I've made:

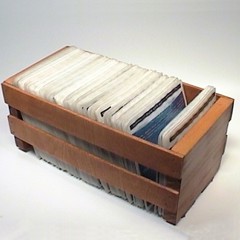
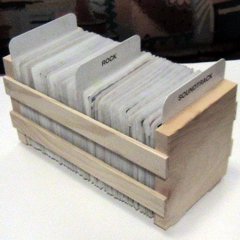
These are about 11 inches long on the outside,
the same depth as an IKEA "Billy" bookshelf. I stained
them with a light cherry stain and finished them with
a couple of coats of semi-gloss spray polyurethane.
Each one can hold about 100 CDs if you pack them in.
Were I still using jewel boxes, each would only hold
about two dozen CDs.

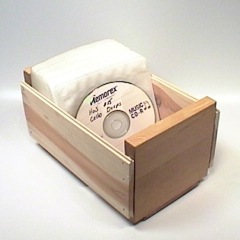
This is a solid-sided and solid-bottomed box.
I made it a full box because I wanted it to be nicer,
but the finish came out poorly. It sits on top of the
stereo cabinet.

This was my first miniDV crate,
made long to match the CD boxes above.
I decided not to do any finishing, since it's just bulk storage.
I did mess up one thing: the side rails are high enough off the
bottom that if a tape is laying down in the crate, it can slide out.
This version only held about fourteen tapes.
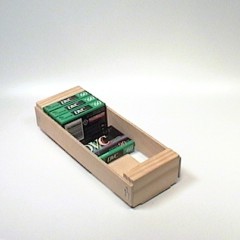
After my library of tapes outgrew that long box,
I made a few shorter boxes.
These fixed the problem of the first version by having wider rails.
I also used thinner plywood, so the boxes can sit closer together,
and used a staple gun to speed construction.
They're only 8.5 inches long, so they fit into letter trays.
Each one holds ten tapes.
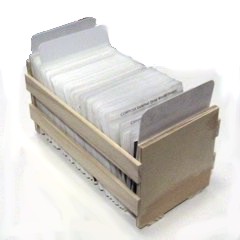
We needed a few more crates to hold my burgeoning collection
and to be able to have CDs in a couple of other rooms from where
the nice two are, so I made some shorter ones. These use unfinished
cedar strips (that were left over from a closet) for the sides. The
boxes are 8.5" long.
Out of the blue I got email from somebody asking if I could
make him nine custom crates. He wanted simple unfinished crates,
but they had to be 11 inches long to match some he already had.
I was able to speed up the process by making cuts through multiple
layers of wood and using flat molding for the rails.
He was happy enough with the crates to order three more!
I was finally starting to run out of room in my existing
CD crates, so I made one more CD crate.
This one and he next use 1" wide lattice moudling as rails
instead of the 1 3/8" stuff I have been using.
It's a little cheaper, though I worry about its long-term durability.
After this, I'm going to have to figure something else out,
because I don't have any more room for crates.
My
Jewel Box Box,
of computer-related CDs was finally getting full,
so I made this crate to hold all those.
I just used 3/8" plywood for the ends,
which actually worked better than I expected.
this marks the end of the Jewel Box Box era.
Sharon wanted one more short crate,
so I gave her mine and made a couple more for myself.
These are going to live in a drawer,
so I just used more 3/8" plywood for the ends.
They're a little short vertically,
as well as being only 9" long.

Our old method of storing sewing patterns in shoeboxes
just wasn't working any more, so I made five of these crates.
They also use 1" wide lattice moudling as rails.
The ends are 6.5" wide and 7" tall,
which is probably a little larger than they need to be,
but sometimes these envelopes are a little oversized anyway.
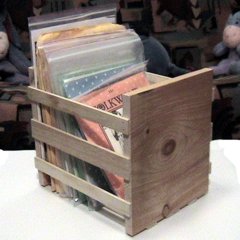
Speakling of oversized envelopes,
some patterns come in huge 9"x12" envelopes or big zip-baggies.
This crate is so large I had to do three rails per side,
and ran out of the thinner stuff,
necessitating one wide rail per side.
The ends are 9.5" wide and 11" tall.
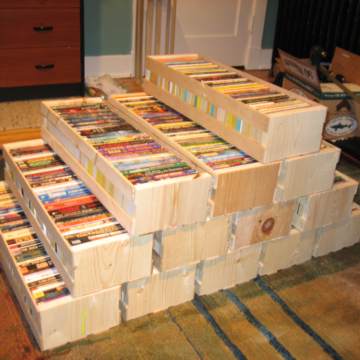
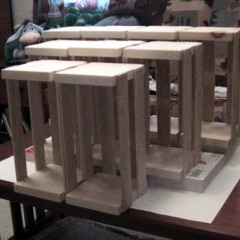
I needed to empty my bookshelves so that
the room I use as my office
could be repainted.
I used this opportunity to make 13 crates
perfectly sized for holding paperback books.
These might come in handy in the future.
Each crate is 2 feet long and has an extra rail
along the bottom to help with the weight.
The rails are all ripped from scrap 2x4.

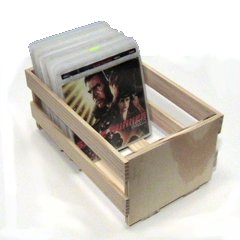
I also needed to store the small number of DVDs I keep upstairs
(you may notice that most of these are martial arts movies),
so I made a DVD crate to match the book crates.
This crate holds about 32 DVDs in standard storage boxes.